Learning how to install self-drilling anchor bars safely requires more than following a drilling sequence. It demands careful ground assessment, suitable equipment, and disciplined site supervision. Before drilling, confirm the approved design, anchor length, bar diameter, drilling angle, and expected rock or soil conditions. Review underground services and unstable surfaces. Wear a helmet, eye protection, gloves, hearing protection, and safety footwear. Small details matter.
Geotechnical pioneer Karl Terzaghi famously warned, “There is no glory in foundation failures.” His words remain relevant when crews ask how to install self-drilling anchor bars safely. Start with a stable platform and inspect the drill rig, couplings, threads, and sacrificial bits. Keep workers away from rotating steel and pressurized flushing air. Maintain the planned alignment, because a small deviation can reduce anchorage performance. Observe drilling dust, water loss, vibration, and sudden changes in penetration. These signs may reveal fractured rock or hidden voids.
Then install the bar without forcing damaged threads. Flush the hole properly before grouting, and use the specified grout mix, pressure, and volume. Record every anchor location, depth, drilling response, and grout result. Perform pull tests when the design requires them. Never rely only on appearance.
Mistakes happen.
An experienced supervisor should stop work when conditions change. A clean checklist cannot replace judgment. It is also easy to overlook housekeeping around hoses, grout lines, and loose steel. This guide presents seven practical tips, while recognizing an uncomfortable truth: safe installation depends on people making careful decisions repeatedly, even under pressure.
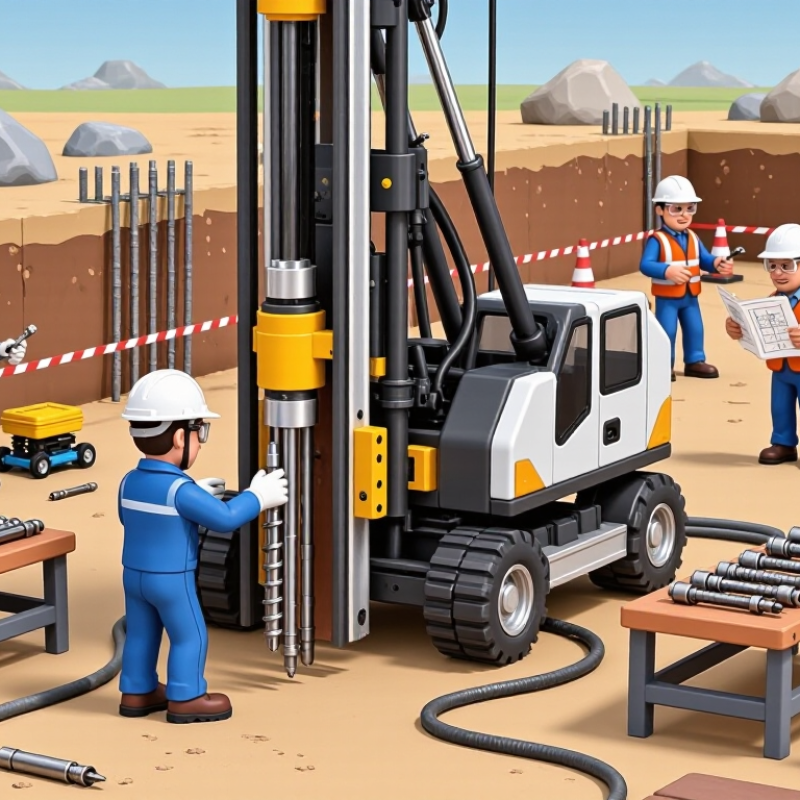
Self-drilling anchor bars combine drilling, grouting, and reinforcement in one hollow steel element. An air or grout flush clears cuttings while cement grout travels through the bar. This design suits fractured rock, loose soil, restricted sites, and unstable slopes. They are common in excavation support, tunnel portals, retaining walls, landslide control, and foundation stabilization. Access is the advantage.
FHWA’s Geotechnical Engineering Circular No. 4 identifies ground anchors for retaining walls, excavations, slopes, and structural rehabilitation. The guidance commonly uses proof-test loads near 1.33 times the design load. Performance tests may reach 1.5 times the design load. These values are not permission to copy a test schedule. Rock quality, corrosion exposure, bond length, and design life still control the method. Designers should verify pullout capacity through site investigation and independent review.
During installation, confirm utilities, collar stability, flushing pressure, grout return, and bar alignment before drilling deeply. A competent supervisor should record depth, grout volume, pressure, and unexpected voids. Workers need eye, hand, hearing, and respiratory protection around pressurized grout and drilling dust. Never treat grout return as proof of a sound bond. Returns can disappear into cavities. That small warning matters. Some sites still rely on visual judgment, and that weakness deserves correction. After curing, test anchors as specified, inspect exposed steel, and document deviations before loading the support.
(Source: FHWA, Geotechnical Engineering Circular No. 4, Ground Anchors and Anchored Systems)
Self-drilling anchor bars combine drilling, grouting, and reinforcement in one hollow steel element. Grout travels through the bar. Air or water clears cuttings. The system can work in fractured rock, loose soil, and restricted areas.
They support excavations, tunnel entrances, retaining walls, unstable slopes, and foundations. They are useful where access is narrow. They can also help stabilize landslide-prone ground.
Confirm underground utilities, ground stability, drilling alignment, and the exclusion zone. Check the collar area for loose material. Inspect bars, couplers, drill bits, hoses, guards, and connections. Small details matter.
Typical equipment includes a compatible drilling rig, hollow bars, sacrificial bits, flushing lines, grout pumps, gauges, and torque tools. Keep clean water and approved grout materials available. Store safety information nearby.
Workers usually need helmets, sealed eye protection, hearing protection, gloves, safety boots, and high-visibility clothing. Respiratory protection may be required during dusty drilling. PPE does not replace dust control.
Use wet flushing or effective local extraction during drilling. Never sweep dry dust. Keep people away from pressurized grout lines. Inspect hoses and couplers before work. Emergency isolation must be understood.
Set the rig on firm, level ground. Align the mast with the approved angle and hole depth. Start slowly, then increase rotation and thrust carefully. Watch for vibration, groundwater, pressure changes, or collapsing holes. Stop and reassess.
Record drilling depth, drilling time, grout pressure, grout volume, alignment, and unusual ground behavior. Document unexpected cavities or missing grout returns. Visual judgment alone is weak. The ground may hide serious problems.
Maintain steady grout flow while withdrawing the bar. Follow the engineered mix and pressure limits. Check threads and seating surfaces before installing plates and nuts. After curing, complete the specified testing and record deviations. Recheck the work.
Self-drilling anchor bars are hollow steel reinforcement elements that drill, grout, and stabilize weak or fractured ground in one integrated process. They are commonly used for slopes, tunnels, foundations, retaining structures, and other works requiring ground support. Learning how to install self-drilling anchor bars safely begins with assessing soil and rock conditions, identifying groundwater and instability risks, and selecting the correct bar length, diameter, drilling method, and grout type for the project.
Before work starts, prepare compatible drilling equipment, grout materials, couplers, plates, nuts, and suitable personal protective equipment, including helmets, eye and hearing protection, gloves, safety footwear, and respiratory protection where necessary. Follow a controlled sequence: mark the drilling location, secure the work area, drill at the specified angle and depth, flush the hole, inject grout properly, and install the bearing plate and nut after the grout reaches the required condition. Finally, inspect alignment, grout coverage, connections, and surface damage; perform approved tests, record results, monitor movement, and maintain the anchors through scheduled inspections.

 Savvy Tools