Choosing the right speed begins with a simple question: what is the best rotation speed for diamond core bits? The honest answer depends on bit diameter, rock hardness, matrix type, drilling depth, and water flow. A small bit usually tolerates higher RPM. A larger bit needs slower rotation to control heat and vibration. Rock also changes unexpectedly.
Dr. John A. Hudson, a respected rock-mechanics researcher, offers a useful field principle: “Good drilling depends on matching the tool to the rock.” That principle matters here. A polished core may indicate insufficient cutting action. Burn marks, glazing, or rising torque suggest excessive speed or poor cooling. The machine may still sound normal. That can mislead inexperienced operators.
Start with the bit manufacturer’s recommended RPM range. Then adjust gradually while observing penetration rate, water return, vibration, and motor load. Keep accurate drilling records. These details often reveal patterns that memory misses. In hard granite, a moderate speed with steady pressure may outperform aggressive rotation. In softer limestone, higher speed can improve productivity, but only when flushing remains strong.
There is no universal number. Field conditions are imperfect. Charts cannot predict every fracture, void, or worn bit. This guide examines practical speed selection, common warning signs, and safer adjustment methods. It also questions a common mistake: treating RPM as the only control. Rotation speed works together with feed pressure, cooling, bit condition, and operator judgment.
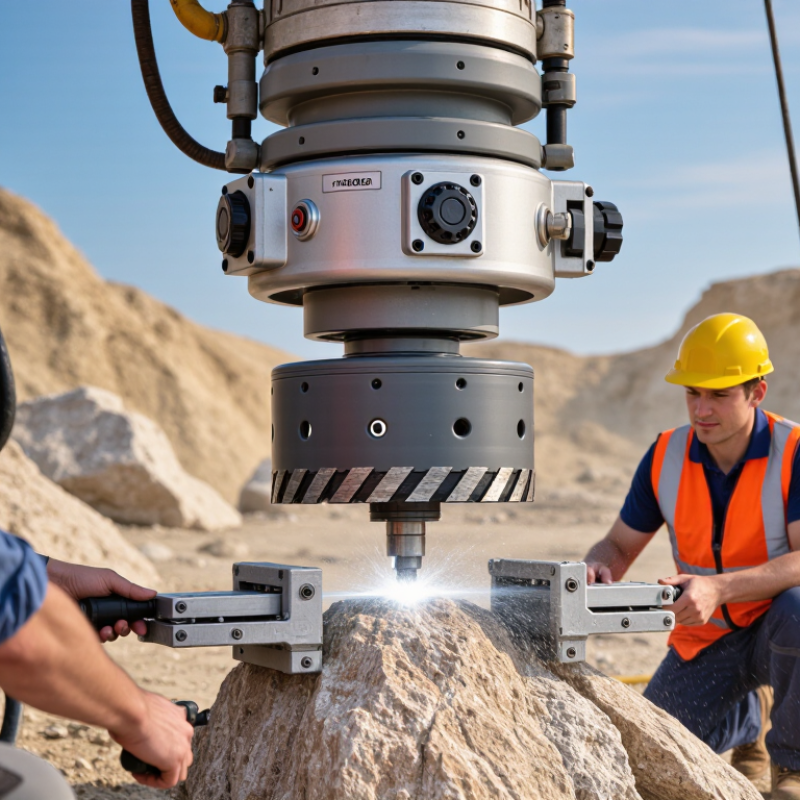
There is no single ideal RPM for every diamond core bit. Diameter changes the cutting speed at the rim: a larger bit travels farther per rotation. Use the bit maker’s speed chart, then check the relationship:
RPM = rim speed (m/min) × 1,000 ÷ π × bit diameter (mm).
For example, if the specified rim speed is 3 m/min, a 100-mm bit works out to about 955 RPM. A neat calculation can still mislead.
Material hardness, aggregate, reinforcement, water flow, and machine power all affect the best setting. Dense concrete or exposed rebar may call for slower rotation and steady, light pressure; forcing the bit can cause heat, glazing, or binding. Keep water flowing to cool the segments and carry away slurry. NIOSH’s 2002 silica criteria document gives a recommended exposure limit of 0.05 mg/m³ as a time-weighted average. That figure is not an RPM guide, but it underlines why dust and slurry control matter during drilling.
Larger bits need fewer revolutions to maintain a similar rim speed. A 100 mm bit needs about half the RPM of a 50 mm bit at the same cutting speed.
Use RPM = (surface speed × 1,000) ÷ (π × bit diameter in millimetres). For a 100 mm bit at 2–3 m/min, the estimate is roughly 6–10 RPM.
No. Hard aggregate and steel reinforcement can require slower drilling. Material conditions vary, so one speed chart may not fit every slab.
Check the bit and drill instructions, then start within their permitted range. Begin near the lower end when appropriate, and use steady feed pressure.
Consistent progress and a clean, even kerf are useful signs. Watch the cut. Sound alone can be misleading.
Pause and inspect the setup. Excessive pressure, poor water delivery, or a worn bit can mimic a speed problem.
If conditions are safe and the equipment allows it, adjust in small steps. Change one factor at a time, then compare progress, vibration, and slurry flow.
No. Speed alone does not guarantee better performance. A short test cut gives useful evidence, though it is not perfect.
Choosing the right rotation speed for a diamond core bit helps maintain steady cutting, protect the bit, and produce a clean hole. The ideal speed depends on several factors, especially the material being drilled, the bit’s diameter, and the drilling conditions. Harder materials and larger-diameter bits generally call for slower rotation, while smaller bits and softer materials may tolerate higher speeds. To estimate a suitable range, start with guidance for the material and bit size, then adjust cautiously rather than relying on one speed for every job.
The answer to “what is the best rotation speed for diamond core bits” also depends on whether drilling is dry, wet, or through reinforced concrete. Wet drilling can help manage heat and clear slurry; dry drilling requires careful attention to overheating, while reinforcement may call for a slower, controlled approach. Monitor the cut for vibration, unusual noise, excessive heat, or slowing progress. Make small speed adjustments and maintain consistent pressure so the bit cuts smoothly without being forced.

 Savvy Tools